Technique & material
Microcement floor build-up in 3D.
A microcement floor combines a prepared substrate, primer, base coats, a mineral finish and protective coats. The substrate determines the system required. Explore the Forcrete Belt & Braces floor system with fibreglass reinforcement and two heavy-duty base coats. Open the cutaway, separate the layers and discover the purpose of each component.
Forcrete / Belt & Braces
The floor, layer by layer.
From substrate to protection. Discover how every layer works together.
Schematic proportions
Diagram view
A schematic material study. Thicknesses are exaggerated; reinforcement and protective films are shown separately. The final specification is tailored to the substrate.
The starting point
What is beneath your floor?
The right build-up starts with the existing floor. Explore the considerations for your substrate.
Screed / concrete
Assess the base first
A cement screed or concrete floor needs to be sufficiently stable, level and dry. A newly poured floor is not automatically ready for microcement. Its condition and junctions are assessed before primer or finishing begins.
- Measure residual moisture and record the test method.
- Assess cracks, weak areas and existing joints.
- Check flatness and junctions with doors and adjacent floors.
Existing tiles
Renovation starts with adhesion
Microcement over tiles can be a renovation option when the tiled floor is suitable. Loose tiles, height differences and grout lines need attention first. A thin finish cannot stabilise a moving or poorly bonded base.
- Check that the tiles are bonded and the underlying base is stable.
- Determine the cleaning, mechanical preparation and levelling required.
- Include preparation in the final floor height.
Anhydrite
Suitable preparation and primer
An anhydrite floor requires an assessment suited to that type of screed. Surface condition and residual moisture determine preparation and primer selection. Similar-looking screeds do not necessarily need the same treatment.
- Identify the screed type and moisture condition.
- Check the surface layer and adhesion after preparation.
- Match the primer and subsequent build-up to the product specification.
Timber / dry screed
Movement needs extra attention
For timber floors and board substrates, assessment centres on stiffness, fixing and joints. A suitable stable board or dry-screed solution may be needed first. Reinforcement supports the system but does not eliminate structural movement.
- Assess deflection and board fixings.
- Discuss joints, transitions and the complete floor construction.
- Establish which substrate solution is suitable before specifying the finish.
Belt & Braces
What goes into your floor?
Nine visible components, one floor system. This cutaway includes the existing substrate. The fibreglass mesh sits inside the first base coat but is shown separately here. The thin protective coats are also exaggerated. The number of illustrated components therefore differs from the number of installation steps or separately applied coats.
- 01
Substrate
Prepared screed
The existing floor is assessed and prepared. The substrate determines the preparation required.
Explore in the build-up - 02
Epoxy primer
FORPRIME-DPM
The primer forms the first bond between the prepared substrate and the floor system.
Explore in the build-up - 03
Fibreglass reinforcement
Fibreglass mesh
The fibreglass mesh is embedded in the first base coat. It is shown separately here.
Explore in the build-up - 04
First base coat
FORPRIME-HB + quartz
The first heavy-duty base coat is applied into the mesh and broadcast with quartz sand.
Explore in the build-up - 05
Second base coat
FORPRIME-HB + quartz
A second base coat with quartz sand. The surface is then prepared for the finish.
Explore in the build-up - 06
Microcement base
MICRO-QUARTZ COARSE
The first Micro-Quartz coat forms the base of the visible mineral surface.
Explore in the build-up - 07
Microcement finish
MICRO-QUARTZ
The finish gives the floor its character. Light reveals the subtle variations of the hand-applied surface.
Explore in the build-up - 08
First sealer
FORSHIELD-FX / 2KWB
The first sealer is matched to the chosen finish. This thin film is exaggerated in the layer view.
Explore in the build-up - 09
Final protective coat
FORSHIELD-2KWB
The final sealer completes the finish. Switch to Surface to see the layers become a single surface.
Explore in the build-up
This explains a reference system. Forcrete offers different floor build-ups, selected to suit the substrate. The technical specification, products and drying times are established for each project. The illustration is not an installation drawing and does not represent actual thicknesses or physical colour samples. Read the Forcrete system reference
Before you begin
A good floor starts with informed decisions.
How much floor height do you need?
Distinguish the microcement finish from the complete floor build-up. Repairs, levelling, a new substrate and the selected base system can add height. Agree the total height with the quotation and check doors, skirting, kitchen plinths and adjoining floors. The enlarged layers in the 3D view are not dimensions.
Microcement and underfloor heating
With a heated floor, the complete construction matters. Discuss the heating type, screed and completed commissioning protocol before work starts. Heating pipes or mats belong to the underlying floor and are not included in this cutaway of the finishing system. Follow the agreed project and product instructions for switching the heating off and restarting it.
Cracks, joints and junctions
Reinforcement does not replace a stable substrate. Existing cracks and movement joints are assessed first; a seamless appearance does not mean every structural joint can be covered. In wet rooms, falls, drains and junctions require their own detailing. This flat floor cutaway does not show those details.
Installation, drying and use
Preparation, application and curing are separate phases. A floor project typically takes five to seven working days, depending on the situation. Each operation follows the specified drying and recoating windows. Separate use and maintenance instructions apply after completion. Plan your move around them and check the terms for loading and water exposure.
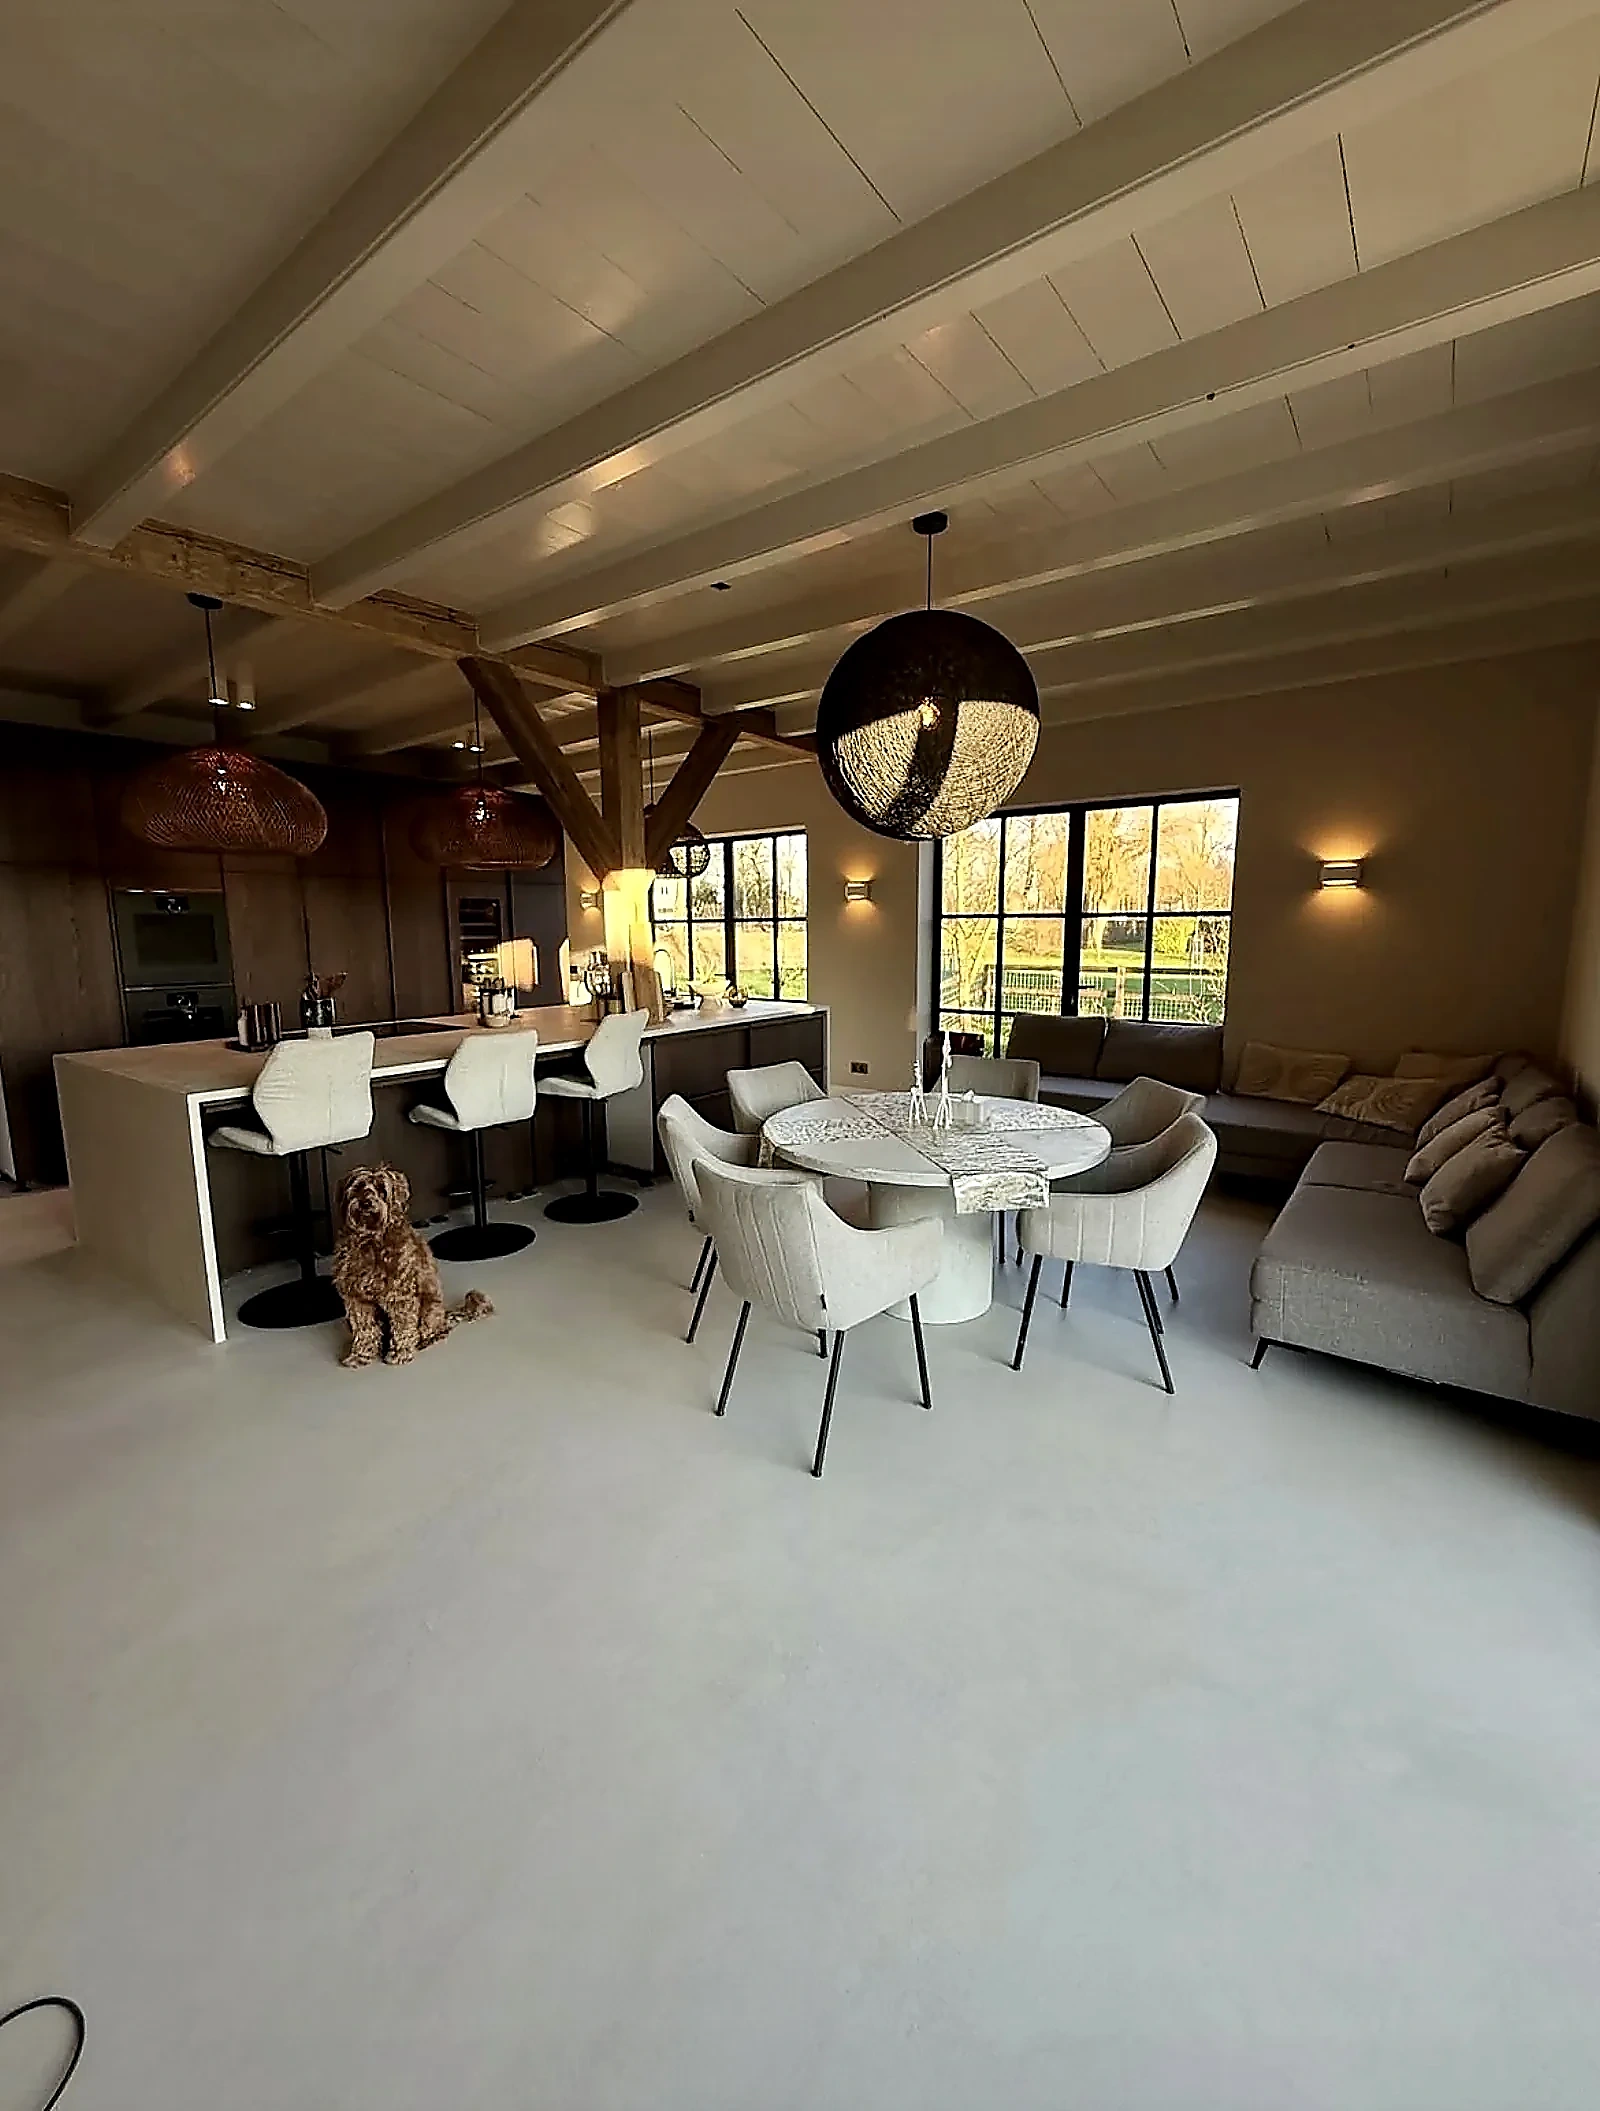
From system to living space
The floor you finally see.
In this farmhouse in Harmelen, the floor, kitchen island and sink share a continuous material appearance. Explore the completed project and its finishing details.
Explore the Harmelen projectCoated Surfaces project photograph. The 3D view above is a general system illustration.
Frequently asked questions
What else would you like to know?
How many layers does a microcement floor have?
It depends on the system and what you count. This Belt & Braces cutaway shows nine components including the substrate. Reinforcement is displayed separately even though it sits within the first base coat. The illustrated component count is therefore not a fixed number of installation steps for every floor.
Is the complete floor build-up always 2 to 3 millimetres thick?
No. A quoted microcement thickness does not automatically describe the space required by the complete build-up. The substrate, levelling, repairs and base system can add height. The total build-up is established for your floor; do not use the 3D illustration as a dimensional drawing.
Can microcement go over existing tiles?
It can be applied over a suitable, stable tiled floor. Adhesion, flatness, joints and any movement are assessed first. Preparation and levelling may be needed before the microcement system is installed.
Can this build-up be used with underfloor heating?
Underfloor heating can be combined with a microcement system specified for that use. The heating type, screed and commissioning protocol must be known beforehand. Preparation and restart instructions are tailored to the project.
Does fibreglass reinforcement prevent every crack?
No. Reinforcement is part of the reinforced system, but it cannot correct an unstable structure or eliminate structural movement. Cracks, joints, fixings and the substrate are therefore assessed before installation.
Is this also the build-up for a microcement bathroom?
The illustration shows a flat floor system. A bathroom additionally requires specific decisions for falls, drains, corners and junctions. Walls may use a different build-up. The bathroom is therefore specified as a complete installation.
What does this floor build-up cost?
The price depends on the area, substrate and detailing. Our pricing page lists current rates for floors, bathrooms and preparation, excluding VAT. For a suitable quotation, send measurements, photographs of the substrate and information about underfloor heating.
Your floor, carefully built
Which build-up suits your home?
Tell us what is there now, the floor area and whether you have underfloor heating. Photographs and measurements help us advise on preparation and put together a suitable quotation. We can discuss your project in English.
Advice on your floor build-up