A microcement bathroom: the details that matter
A floor that flows through the room. Walls without a grid of grout lines. A niche that feels part of the whole. That calm starts with the substrate, drain and junctions. Not with the final coat.
- Author
- Coated Surfaces
- Updated
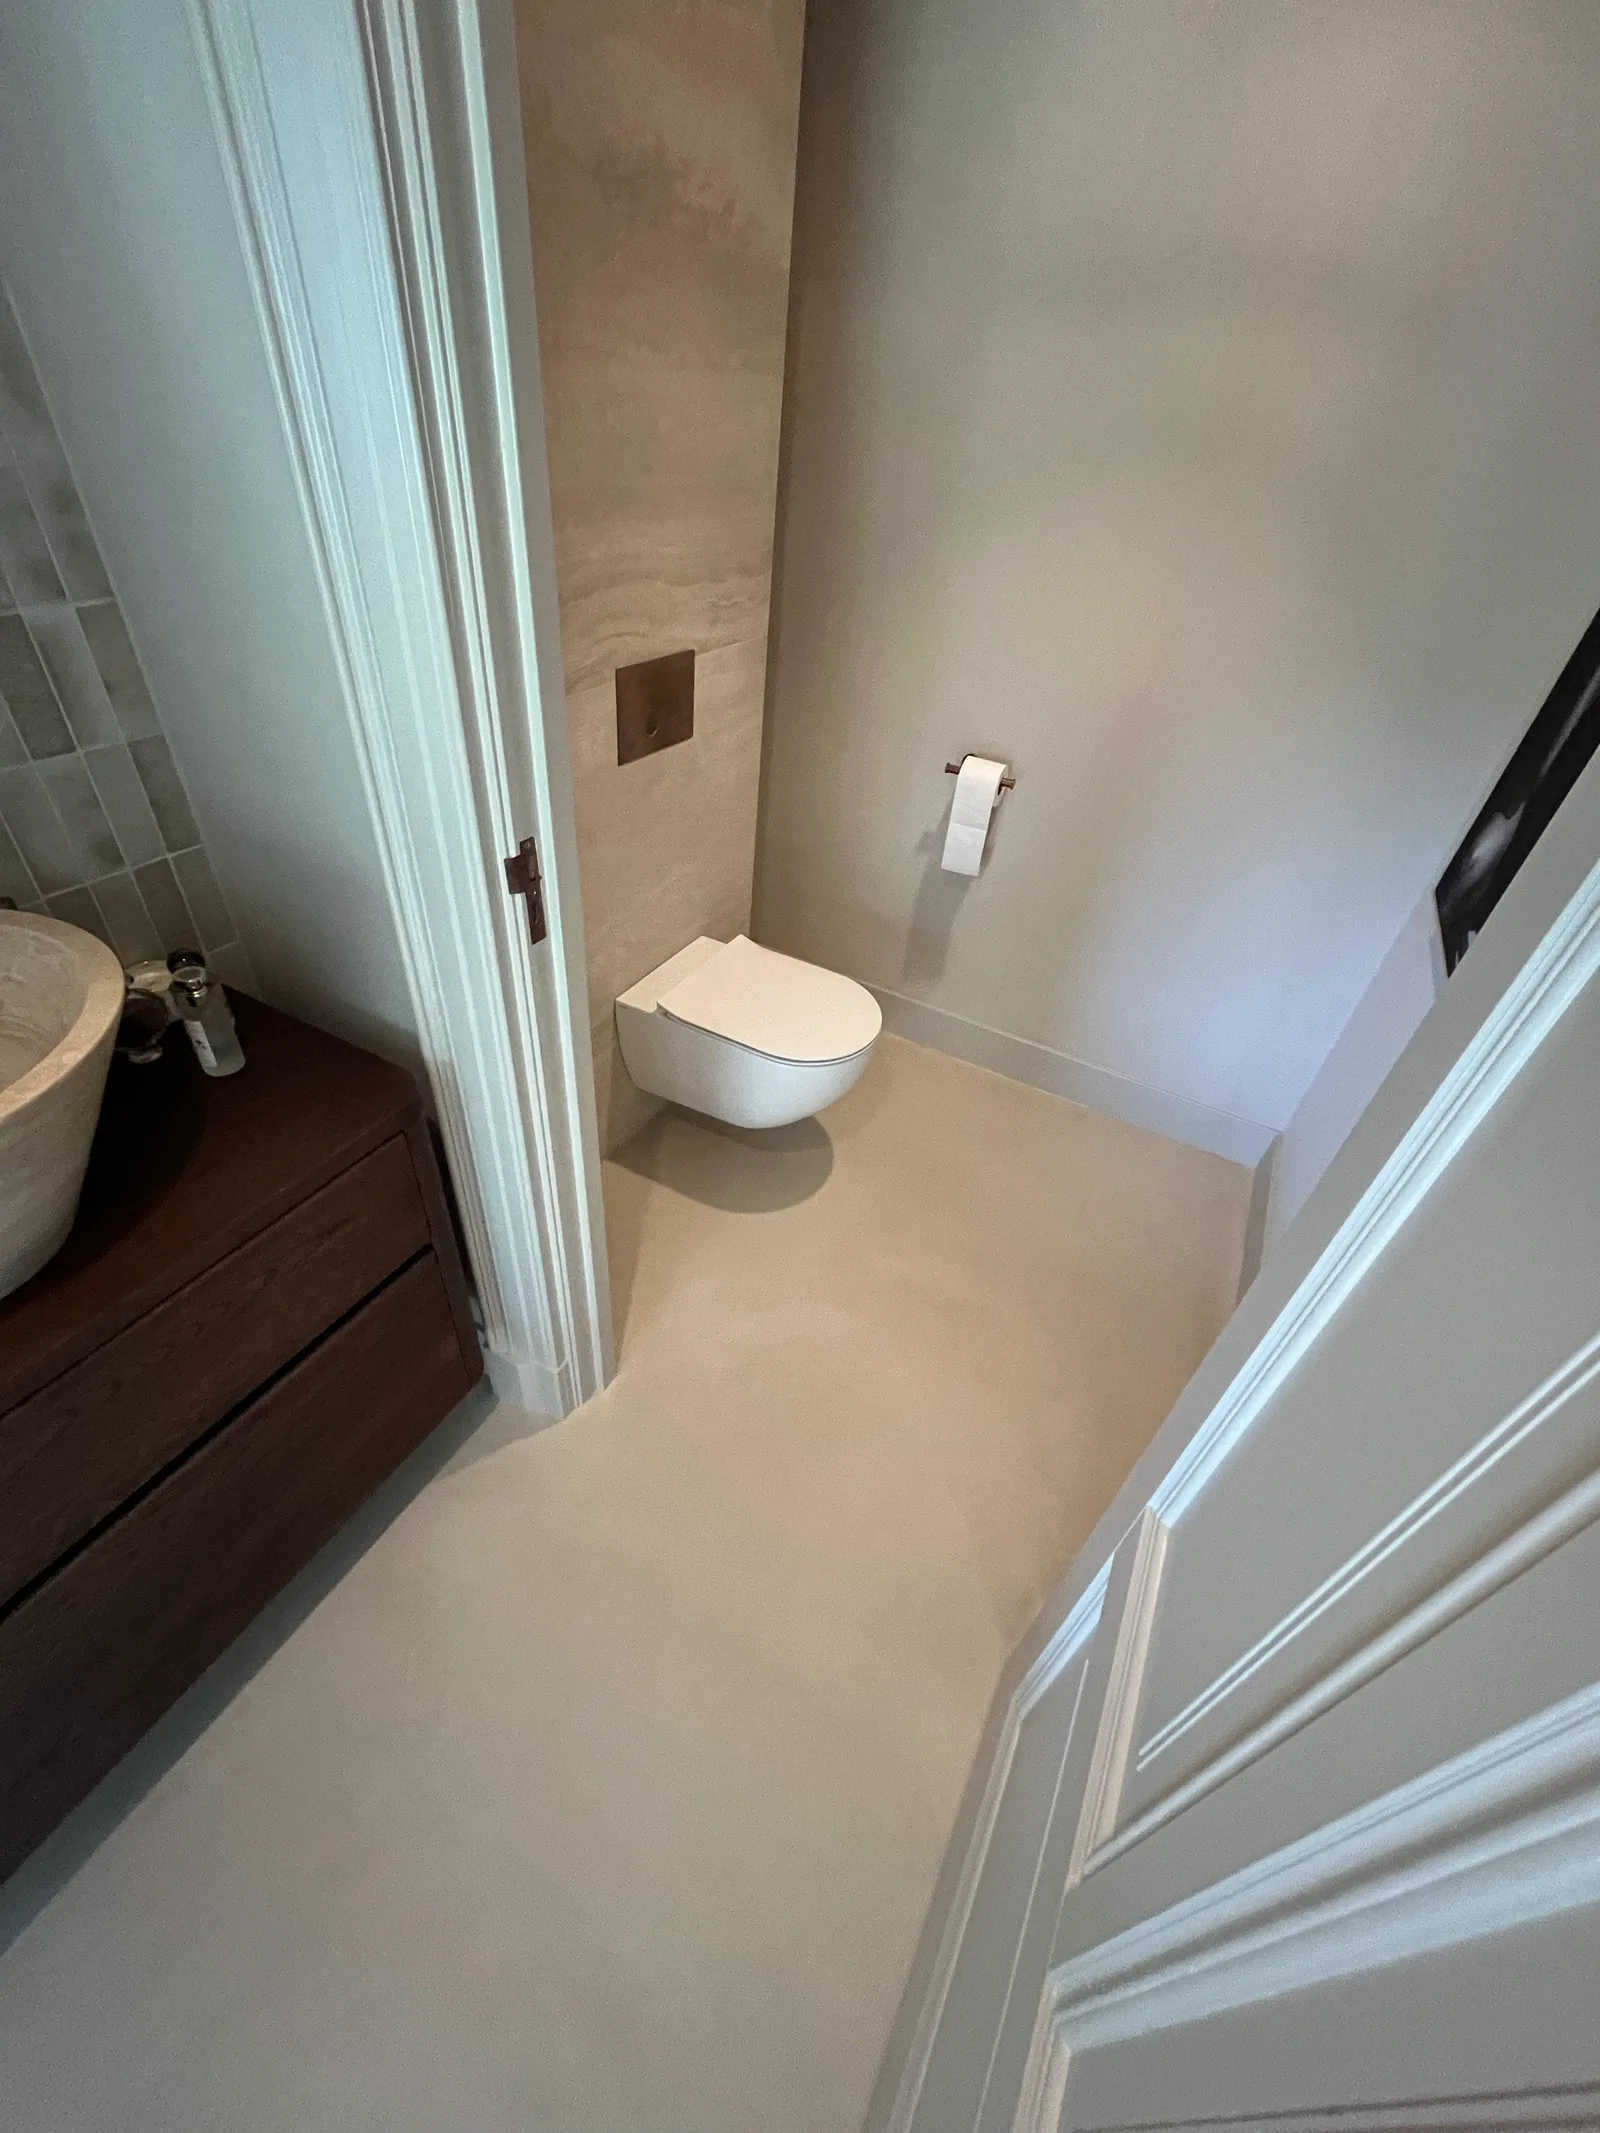

This guide helps you agree those choices with your contractor, plumber and finisher before work begins. It is not a universal construction drawing: the right detail depends on your structure and the chosen system. Still deciding whether the finish suits you? Start with microcement in the bathroom.
A waterproof material and a waterproof bathroom
Forcrete describes its system layers as waterproof before sealers are applied. That is a material property. It does not establish that every drain, pipe penetration or junction is automatically watertight.
An extra waterproofing layer is not a universal recipe either. Forcrete's official substrate guide describes a particular wet-wall construction. The preparation for your bathroom needs to be assessed as a complete build-up. Do not combine parts of different systems without that agreement.
Record the chosen system, how the junctions will be formed and who will check them. That turns 'is microcement waterproof?' into a practical question about your bathroom. The material statement is published by Forcrete.
A stable, suitable substrate
A good finish starts on a suitable base. Forcrete's bathroom instructions call for checks including movement in walls or floors, gaps around fittings and protruding screws. Issues should be discussed before finishing begins.
Its Substrate Build-Up Information also distinguishes dry walls from wet-area walls. In the described wet-area construction, support, board layers, bonding, fixings and staggered joints form part of the system. A board's name alone does not establish the suitability of the whole wall.
Renovating an existing bathroom? Share earlier leaks, repairs and loose areas, even if they are no longer visible. Whether tiles can stay requires its own assessment. See microcement over existing tiles for that preparation.
Falls: where does the water go?
A fall is the change in level that directs water towards the drain. Discuss the shower floor, drain position and transition into the rest of the room together. Do not assume a decorative finishing layer will correct missing falls.
Ask the people carrying out the work to record the agreed falls and levels on the drawing. The required dimensions depend on the floor, drain and layout. That is why this guide does not prescribe a single gradient for every shower.
A shower tray or former should not be chosen separately from the finish either. Have the exact model and its junctions assessed before it is ordered or installed.
The drain is a junction, not just an accessory
Appearance often leads the choice of shower drain. Installation also involves mounting, height, its connection to the surrounding build-up and access for cleaning.
Review the model and its installation instructions alongside the finishing system. Who fits the drain, who makes the junction and who checks it before it is concealed? Do not leave that responsibility somewhere between the plumber, contractor and finisher.
Keep photographs of the agreed inspection points before finishing. The photographs and video in this guide show the visible result; they do not establish a concealed waterproofing detail or identify a drain model.
Corners, niches and penetrations
The flat wall is only part of the work. Corners, niches and openings bring different components together. Use this list when discussing your drawing.
| Detail | What should be agreed in advance? |
|---|---|
| Floor-to-wall junction | How do the substrate, finish and any required movement allowance connect? |
| Internal and external corners | Which build-up and reinforcement suit the construction? |
| Niche | How will the base, corners, edges and water drainage be formed? |
| Taps and pipe penetrations | Which junction suits the component, and who checks it before finishing? |
| Shower screen | Where will it be fixed, and how will that fixing be prepared? |
| Bath, basin or furniture | Which components are fitted first, and which junctions remain accessible? |
These are coordination questions, not DIY specifications. Record the chosen detail, the responsible party and the inspection stage. If a component changes, have its junction reviewed too.
Seamless does not mean every joint disappears
Microcement can give a continuous appearance while still needing functional joints and junctions. A movement joint serves a different purpose from ordinary tile grout.
Discuss which joints must remain, how different materials meet and where sealant or another connection will be visible. Do not conceal a detail solely because an uninterrupted surface looks better.
The required solution depends on the construction and system. Choosing microcement does not automatically remove the need for sealant or junction maintenance.
Texture, sheen and use
Light, texture and finishing all shape the appearance of a wall or floor. A shower also involves using a wet surface. A rough appearance is not, by itself, a verified slip rating.
Ask for evidence relating to the actual proposed combination of product, texture and protective finish. Without that information, this guide does not assign a general slip classification. A shower floor and a wall need not be chosen on identical criteria.
View a physical sample for colour and appearance, and discuss where the finish will be used. Read colour and texture for what a sample can help you assess.
Agreeing the work sequence
A bathroom brings several trades together. Make the decisions specific before the finisher starts:
- Record the substrate, drain model, levels and junction details.
- Agree who prepares, installs and checks each part, and at which stage.
- Plan checks before junctions are concealed; retain the findings and photographs.
- Prepare for later fixings, such as a shower screen or furniture.
- Record at handover when water, cleaning and normal use are permitted.
Where electric underfloor heating is fitted, Forcrete calls for testing and commissioning before finishing work. Coordinate this with the relevant installer; a finished surface is not evidence that the installation has been checked.
If the drain, substrate and finishing-system instructions conflict, resolve that before work proceeds. The day-by-day layout of an application guide is not an automatic date for using the shower again.
Details still matter after handover
Keep the installed product names, junction details and first-use instructions. Forcrete's aftercare document gives separate restrictions for water contact and cleaning agents during curing. The instructions that apply to your finish should be clear at handover.
If a junction changes, a crack appears or a damp mark develops, take photographs and have it assessed before covering it up. For ordinary cleaning, see the care guide.
When something changes later, such as a new shower screen, the retained information helps coordinate its fixings and junctions. This guide draws on publicly available Forcrete documents checked on 25 October 2026. A project-specific design is still required.
Frequently asked questions
Is a Forcrete bathroom automatically waterproof?
Forcrete describes its system layers as waterproof before sealers. The substrate and junctions at drains and penetrations also need appropriate design and execution. The material choice alone does not establish that the complete bathroom is correctly built.
Can the existing bathroom tiles stay?
Possibly, with a suitable substrate and complete build-up. Moisture, adhesion, falls and junctions remain part of the assessment. The tile guide helps you discuss that preparation.
Can I buy a shower tray or drain in advance?
Discuss the exact model and installation instructions with the parties doing the work first. They can assess whether it fits the structure, levels and finishing system.
Can walls and floors have the same colour?
That can be the starting point for the appearance. Light, viewing angle and finish affect what you see, so view a physical sample and discuss each surface. A colour choice does not automatically establish suitability for a shower floor.
Does microcement eliminate sealant and joint maintenance?
That does not follow from choosing microcement. The joints and connections that remain, and how to maintain them, belong in the project agreement and handover information.
When can I use the shower again?
Only in line with clearance and product instructions for your finish. Dry enough for another coat is not the same as ready for water contact. The planning and first-use guide explains the distinction.
Where can I find microcement bathroom costs?
The cost page lists base rates and their conditions. Alongside surface area, substrate preparation, corners, niches and junctions determine what needs to be included in your quotation.
A calm bathroom starts with clear decisions
See our completed Rotterdam bathroom for a real application. To discuss your own space, send photographs, approximate dimensions and a drawing showing the drain, niches and intended layout. Include what will remain and any components already selected.
That helps us identify what still needs to be agreed, before you order components or conceal a junction.